DIY: How to Make a Succulent Fountain
Looking for a way to add a beautiful and water friendly feature to your garden? We’ve got the perfect garden project for your next weekend outdoors.
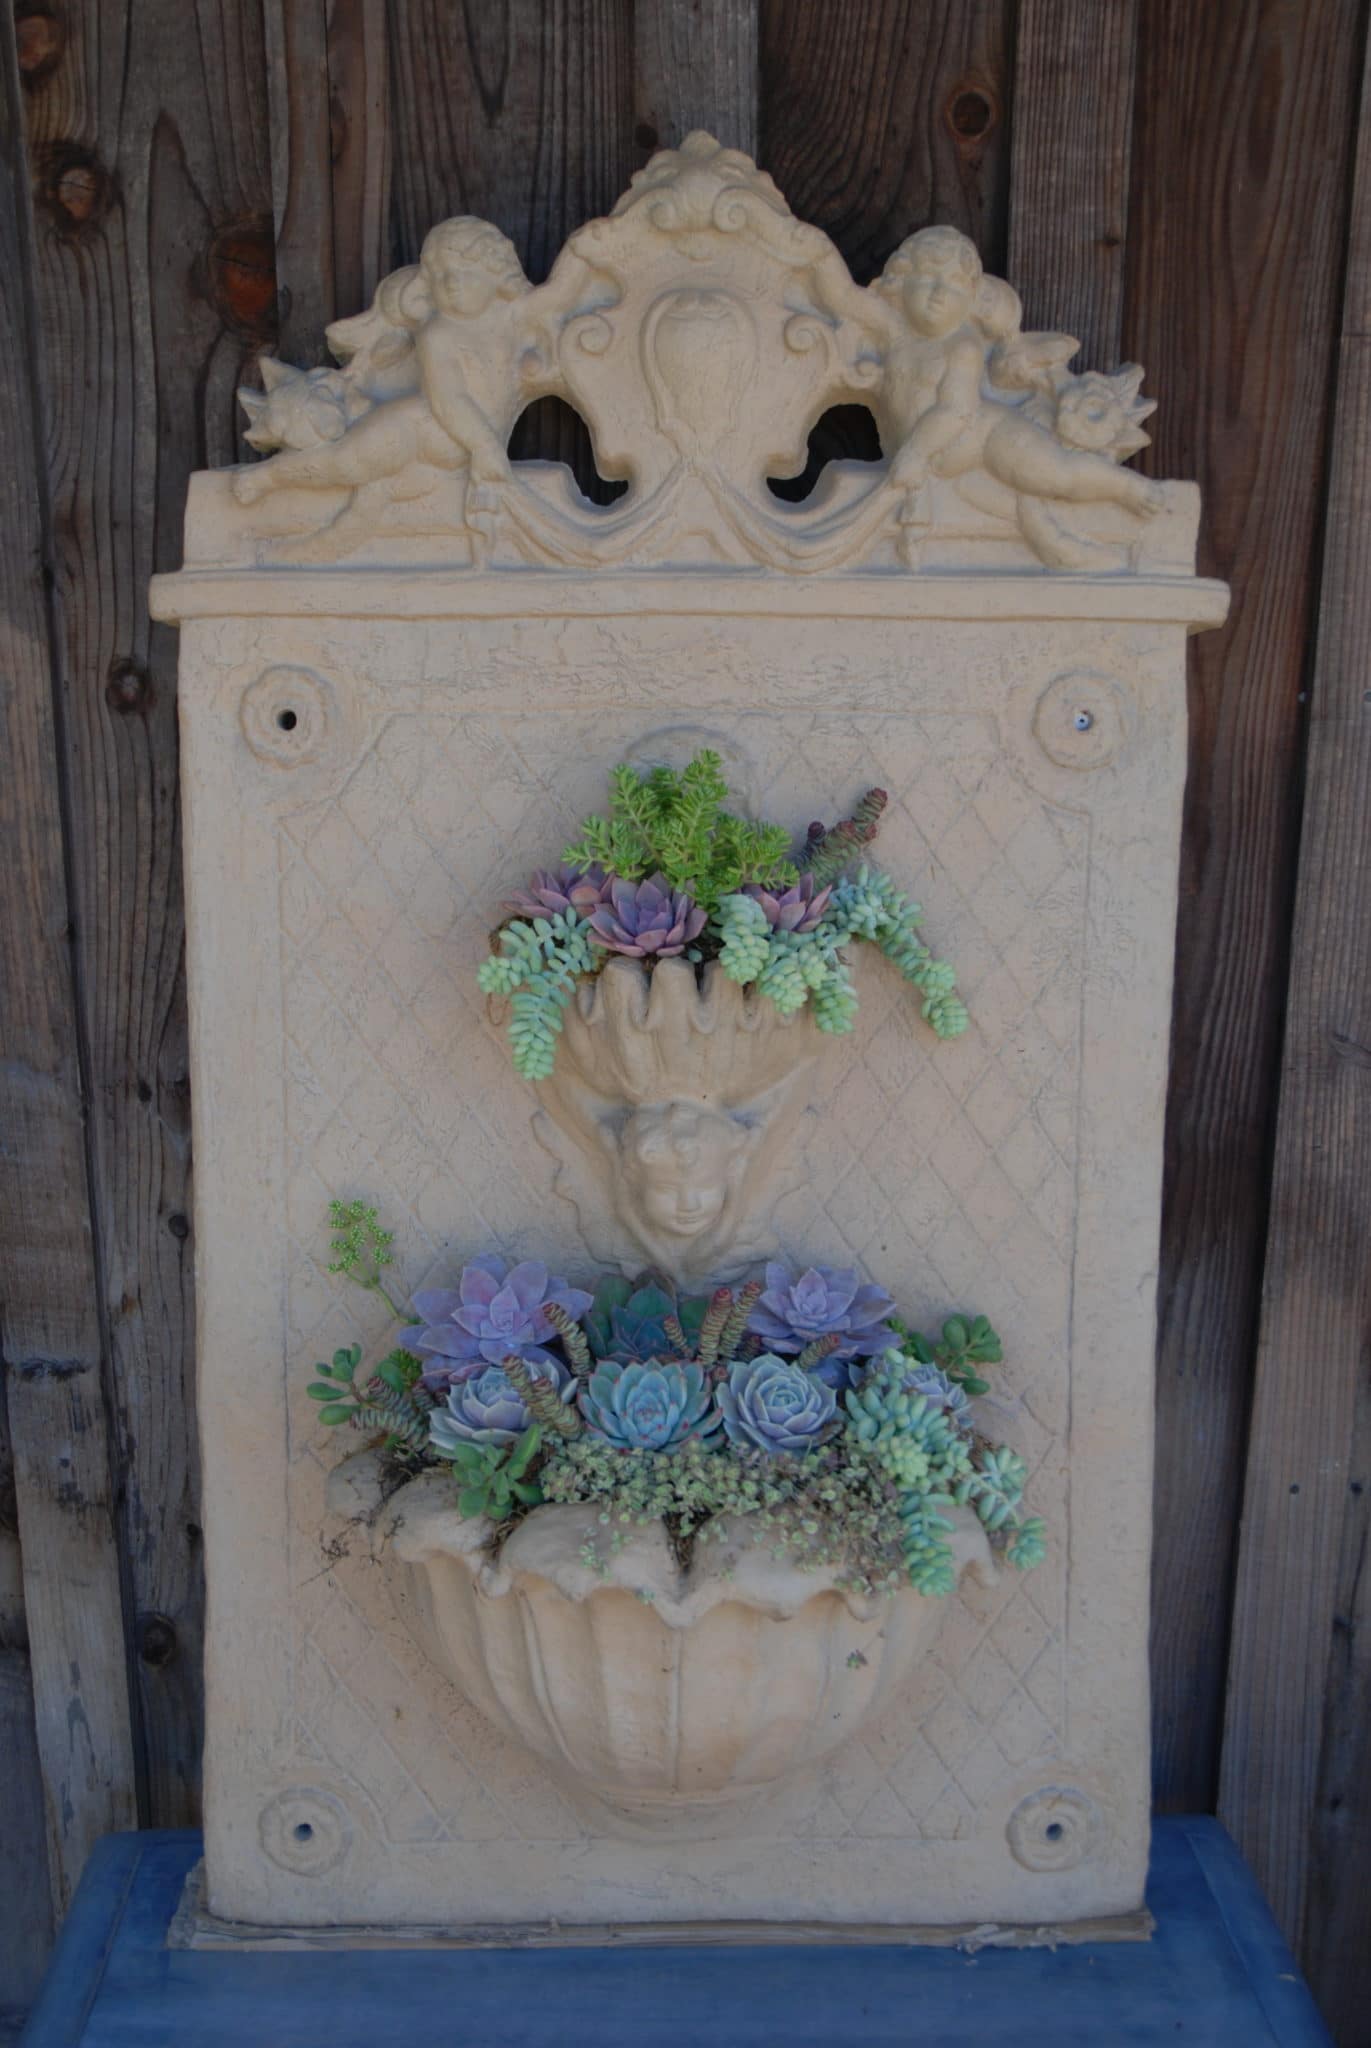
Here at Eye of the Day, Amelia Richardson, better known as Mimi, takes care of the succulent plantings around the store. An expert on succulents, she takes an overlooked wall fountain and transforms it into a beautiful container garden. This project is great not just for drought-stricken California, but any garden that gets enough sunlight throughout the year.
Here is a step-by-step guide to converting a fountain into a succulent fountain garden.
Step 1: Choose Your Vessel
Choose a fountain. It can be one meant to mount a wall, a standalone fountain, single or multi-tiered, or even a birdbath will do!
Step 2: Prep Your Container
Drain the fountain of water and make sure that any drainage holes are covered, if any. You can use a broken piece of pottery or terracotta. The soil will still shift so periodically check the draining that soil isn’t completely blocking it off.
You can also add a layer of rock gravel first before adding soil. If you’re using a birdbath, this step is a must.
Step 3: Add Your Soil
We recommend using cactus mix when planting succulents. It drains quickly which is good for plants that can’t sit in wet soil. We use EB Stone’s Organic Cactus Mix. If you live near Eye of the Day here in the Santa Barbara area, be sure to stop by and get some!
Step 4: Choose Your Succulents
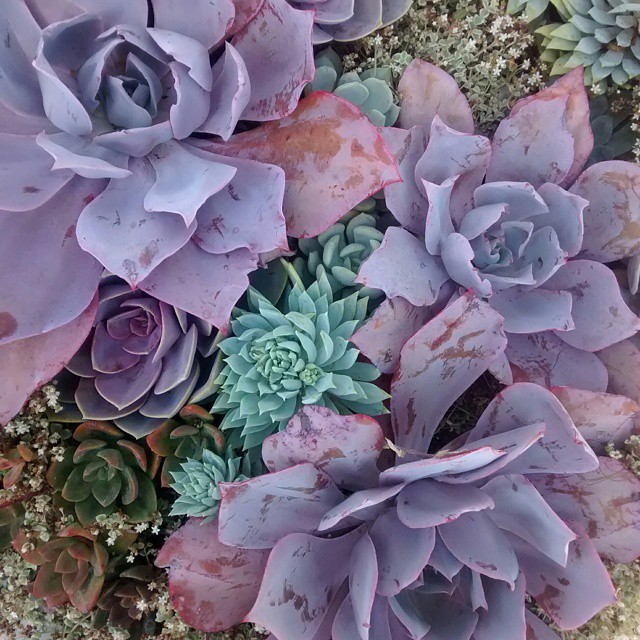
When picking succulents, it will really depend on the planter. On large planters, you can choose a focal plant that you can work smaller succulents around. For example: A large Echeveria or Aeonium in the center that is worked around with smaller accent pieces like Sedum morganianum.
Mimi Tips:
- Have fun when picking succulents. Grouping like with like is also easier.
- Color story: Jewel toned, all greens, chartreuses, blacks, cool tones versus warm tones
- Textural: Soft, sharp, or hardy.
- Shape: Round (Echeveria, aeonium, sempervivum), spiky (crassula, sansevieria), mix of large and small, tall and short. Senicio radicans and Sedum morganianum even mimic water flow as they drape over the edges.
- Single type: Just one type of succulent for beginner planters. All rosette types are always pretty.
Step 5: Plan the Layout
Before you start the actual planting, place the succulents either on the ground or in the fountain as you imagine the final product. Here you can edit and rearrange as you see how it’ll all come together.
Sometimes planters can be organized and others more organic and wild. It will depend on the container and where it’s going.
Step 6: Start Planting
When removing a succulent from its plastic container, sometimes you’ll be transplanting to an area smaller than the soil around the succulent. You can remove much of the soil while still preserving the roots to get it to fit in the container spot.
Mimi Tip: Don’t be afraid to plant them close together. You can always leave space to let them fill out but getting into every nook and cranny helps to create its own ecosystem and that full growth actually slows down the propagation.
Besides, you can always remove, replace and transplant—that’s the great nature of succulents. Succulents are hardy; they’re hard to ruin so press them into the soil. You can also use wet sheet moss to keep the plants moist and reduce the need for additional watering.
Step 7: Add Decorative Elements
Depending on the container get creative using shells, pieces of wood, rocks, broken pot or statue pieces, sea glass, etc. as added decorative material. If you prefer space between your succulents, these elements can help cover the soil.
Step 8: Final Watering
Give it a quick but generous soak and wash off the container with any leftover dirt. With succulents you want to water once or twice a week depending on sun and weather conditions. Soil should dry out (not completely bone dry) between watering. If soil is still damp you don’t need to water just yet.
If you’re using a container that does not have a drainage hole like a birdbath, then you would let it go bone dry between watering.
Voila! You have a beautiful, water friendly, succulent fountain!
To check out another fun DIY project take a look at Design Rulz article on DIY Macrame Plant Hanger Patterns.